Here is a step-by-step guide on how to properly test your sequence and verify your data.
You can run a test directly from the campaign builder to preview exactly what your prospects will see.
To begin, click the Test button located in the top right corner.
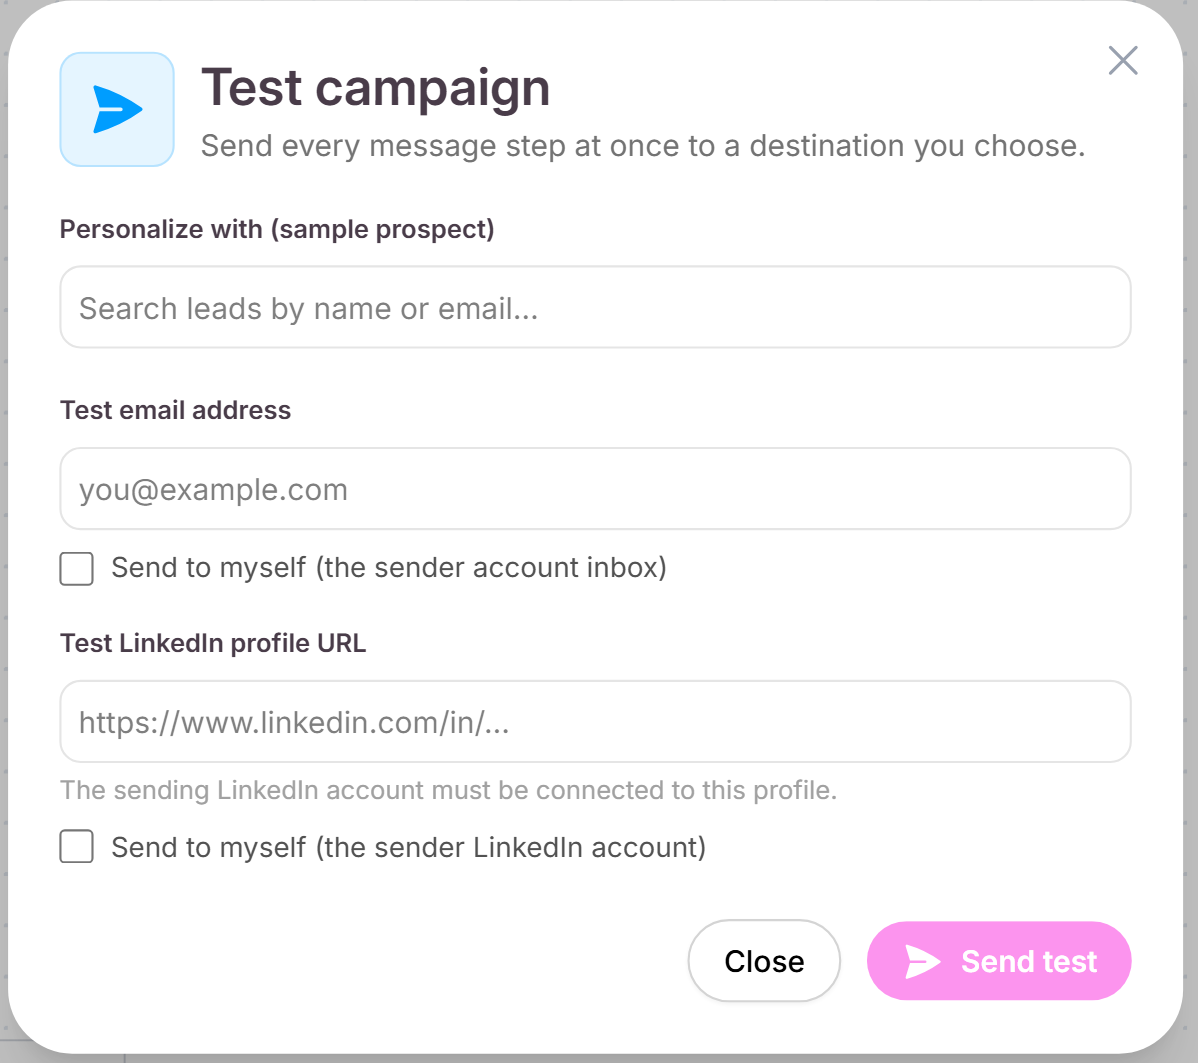
A menu will appear where you can personalize the sample prospect.
You can search for and select an existing lead from your list.
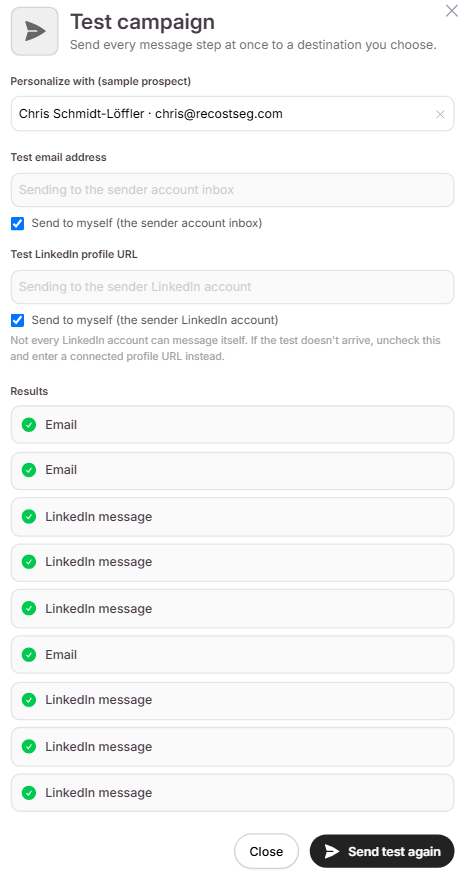
This will populate the test with their specific data, allowing you to see exactly how your variables will render.
Next, enter the specific email address or LinkedIn profile URL where you want to receive the test.
Alternatively, you can simply check the box to send the test directly to your sender account's inbox.
Click Send and the test will be delivered to your chosen email address or LinkedIn sender account.
If your test does not send, you may need to adjust your sender settings.
If you receive an error stating that no active email account is connected, close the testing window.
Open your Campaign Settings.
Navigate to the Sender accounts section to make sure you connect an email account first.
Once connected, you can go back to the builder and test your sequence again.
You can also run a test without being actively inside the sequence builder.
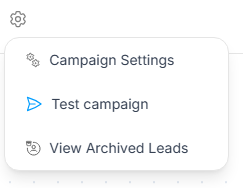
Keep in mind that you can access this testing feature directly at any time from the main campaign settings dropdown menu.
Open the dropdown menu and select Test campaign to launch the test from there.